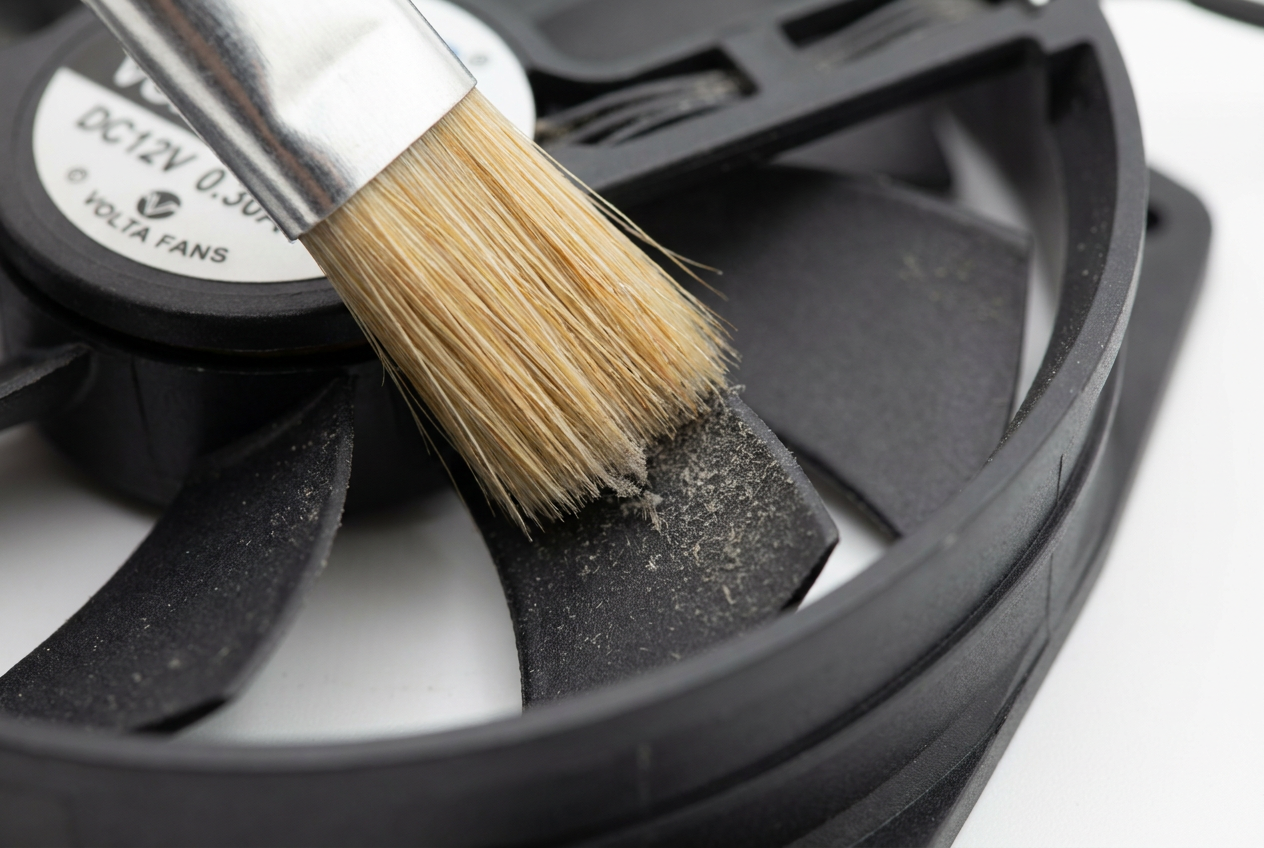
- Use soft brushes to remove dust stuck to the blades and frame.
- Importance of blocking the rotation of fans when using compressed air.
- Specific disassembly procedures depending on the fan's location in the case.
- Need to renew the thermal paste when disassembling stock heatsinks.
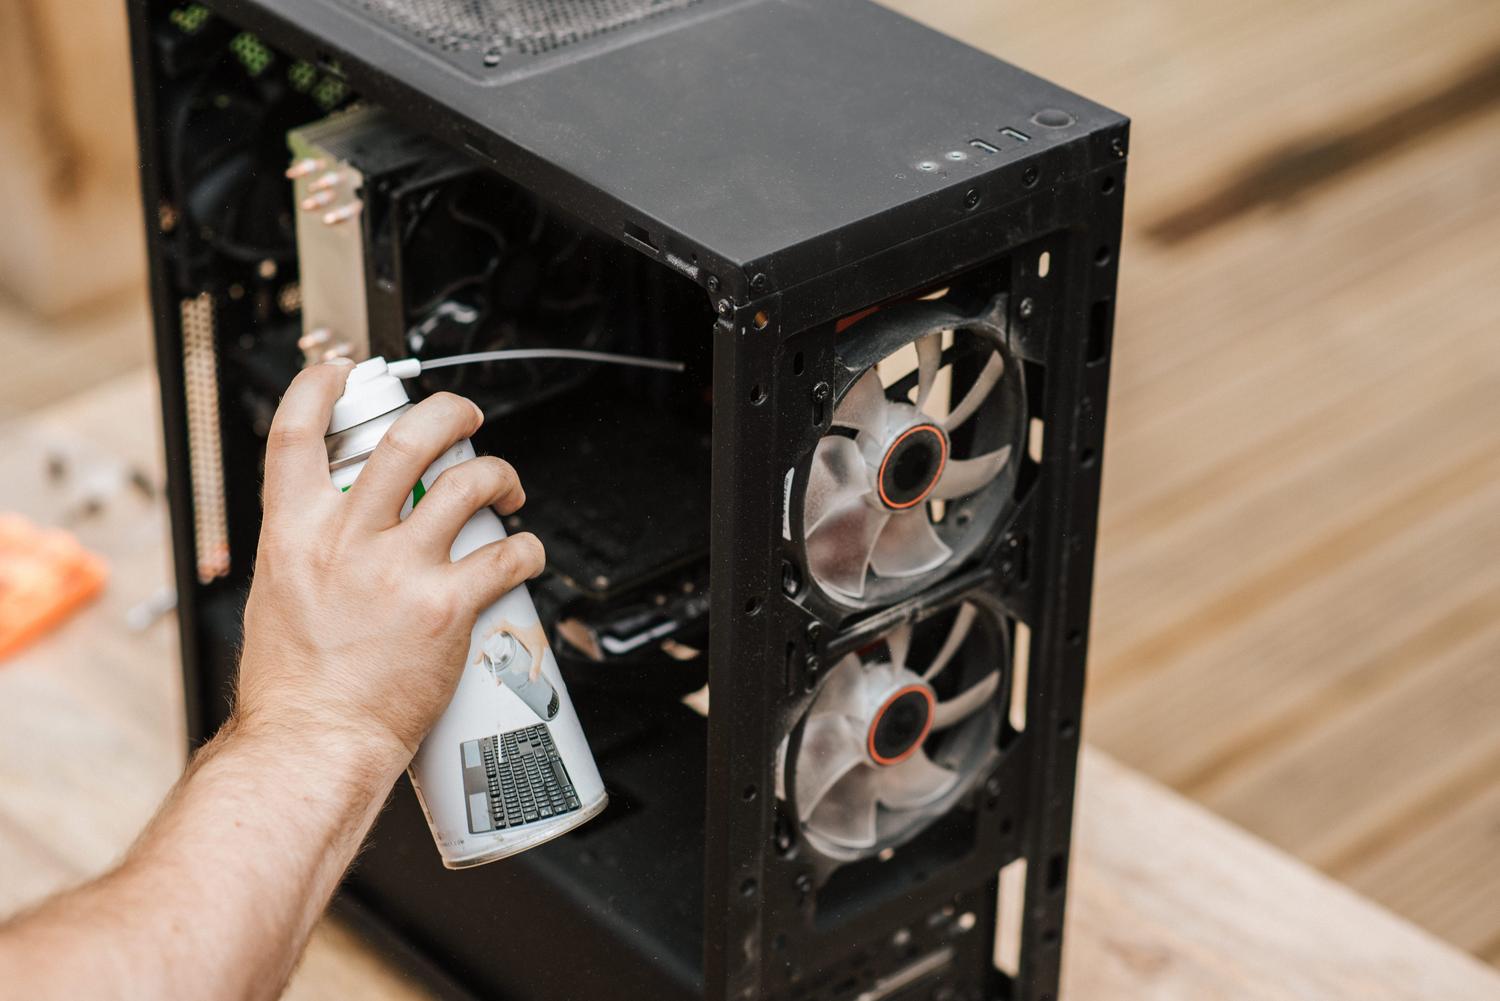
Keeping your computer clean isn't just about aesthetics; it's vital to prevent overheating. Over time, fans act like vacuum cleaners, accumulating a layer of lint and dust that obstructs airflow. This can cause electronic components to overheat and performance to plummet.
If you notice your PC is making more noise than usual or that temperatures are rising for no reason, it's very likely you need to perform a thorough cooling system maintenance . You don't need to be a hardware expert, but you do need patience and the right tools to ensure proper airflow and extend the life of your machine.

The basic equipment for effective cleaning
Many users resort directly to compressed air, but the reality is that when the dust is stuck to the blades, the air is often insufficient. The best tool in these cases is a soft-bristled brush , which acts like a micro-broom, capable of reaching the most awkward corners. Ideally, it should be of a medium size: not so big that it won't fit in the gaps, nor so small that it takes forever.
It's essential that the brush is completely clean to avoid introducing extra dirt or paint residue. As for compressed air, it's a great option for cleaning aluminum radiators or the motherboard, but for fans it can be an unnecessary expense. If you decide to use it, always remember to block the blades with your hand or a pencil, as excessive speed caused by the air jet could damage the fan motor.
How to access and remove the fans
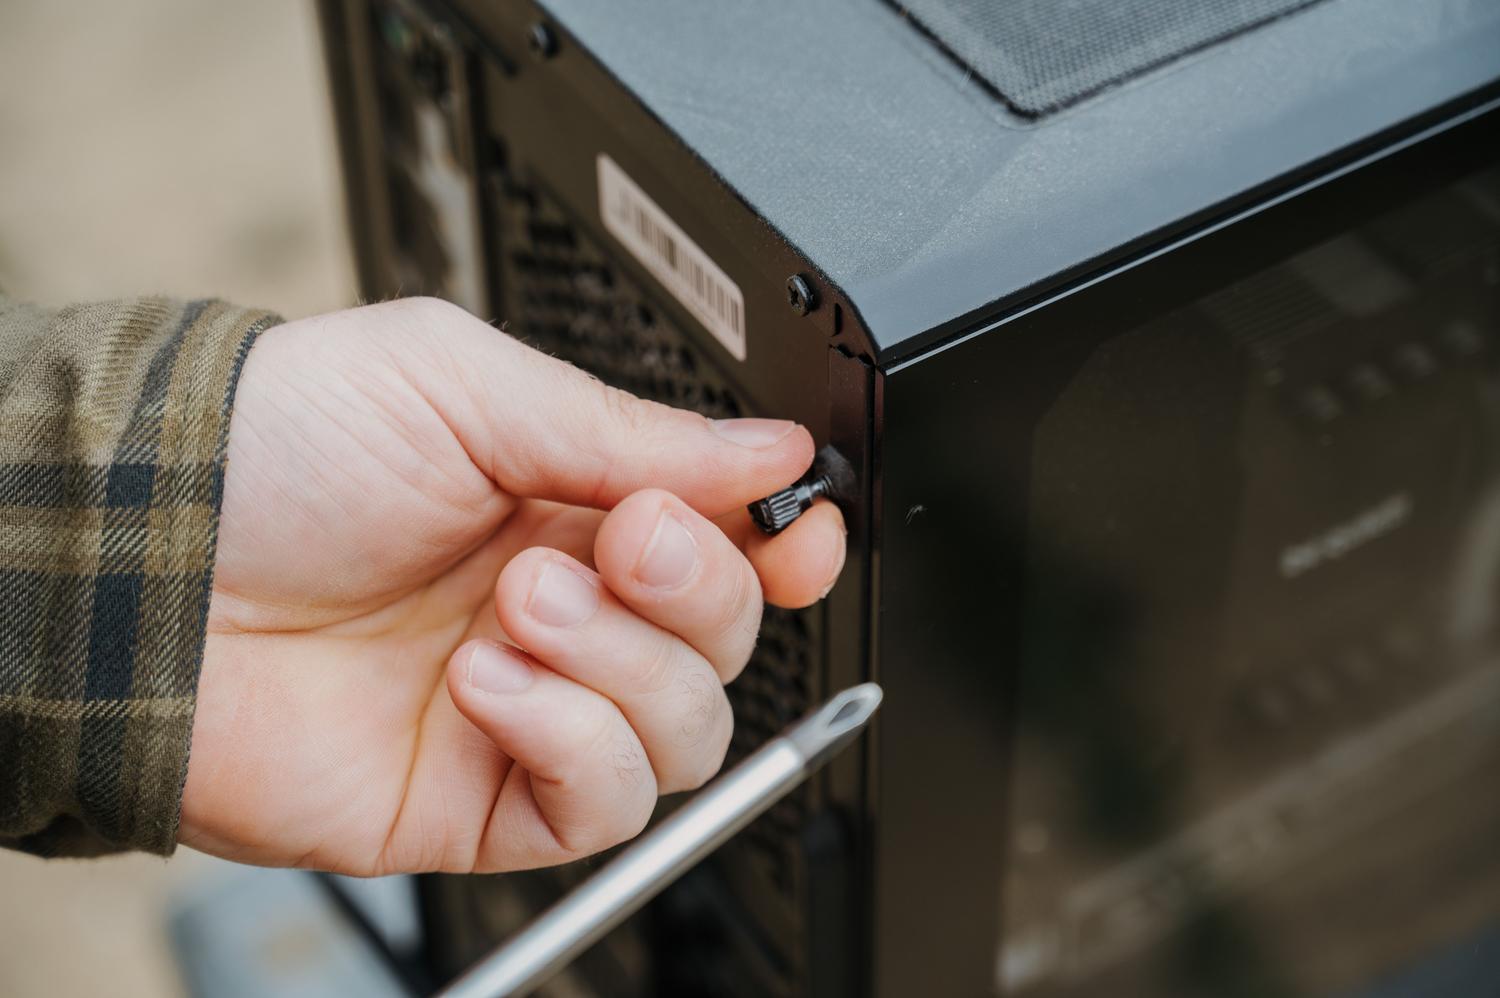
Before touching anything, turn off your PC and unplug it from the power outlet to avoid any surprises. The first step is to remove the side panel (usually the left one). Depending on where the fan is located, the process varies, so it's helpful to consult a complete PC hardware guide to identify each part.
- Front fans: They're usually behind a panel that you remove by pulling it from the bottom. Be careful not to force the plastic tabs too much. It's recommended to unscrew them completely to avoid releasing all the dust inside the case.
- Top or rear fans: Disassembly is mandatory here. Follow the cable to the motherboard connector, unplug it, and remove the screws securing it to the chassis.
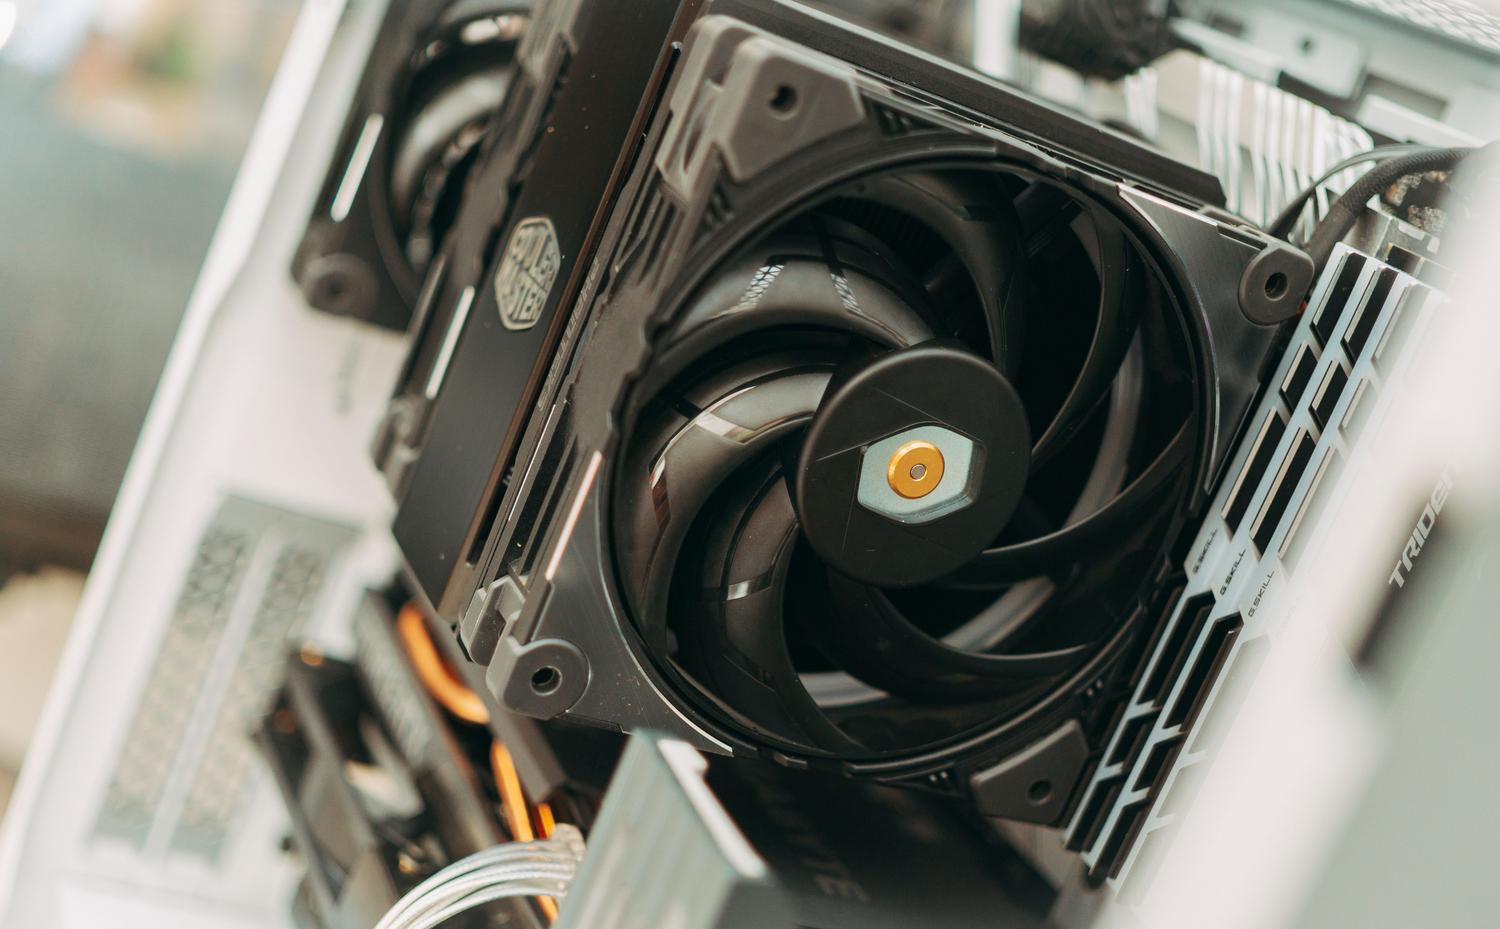
- Liquid cooling and tower coolers: For liquid coolers, look for the mounting screws. For air coolers, you'll most commonly find metal clips that you gently press to release the fan from the aluminum fins.
- Stock CPU coolers (Intel/AMD): If the fan can't be removed on its own, you'll have to disassemble the entire block. On Intel systems, you rotate the tabs, and on AMD systems, you usually remove screws. Note that this implies change the thermal paste mandatory after cleaning.

The power supply is a special case. For safety and to avoid voiding the warranty, do not open it . Clean the external filter and, if you see a lot of dirt inside, use compressed air from outside the grille, always blocking the fan from spinning.
The step-by-step cleaning process
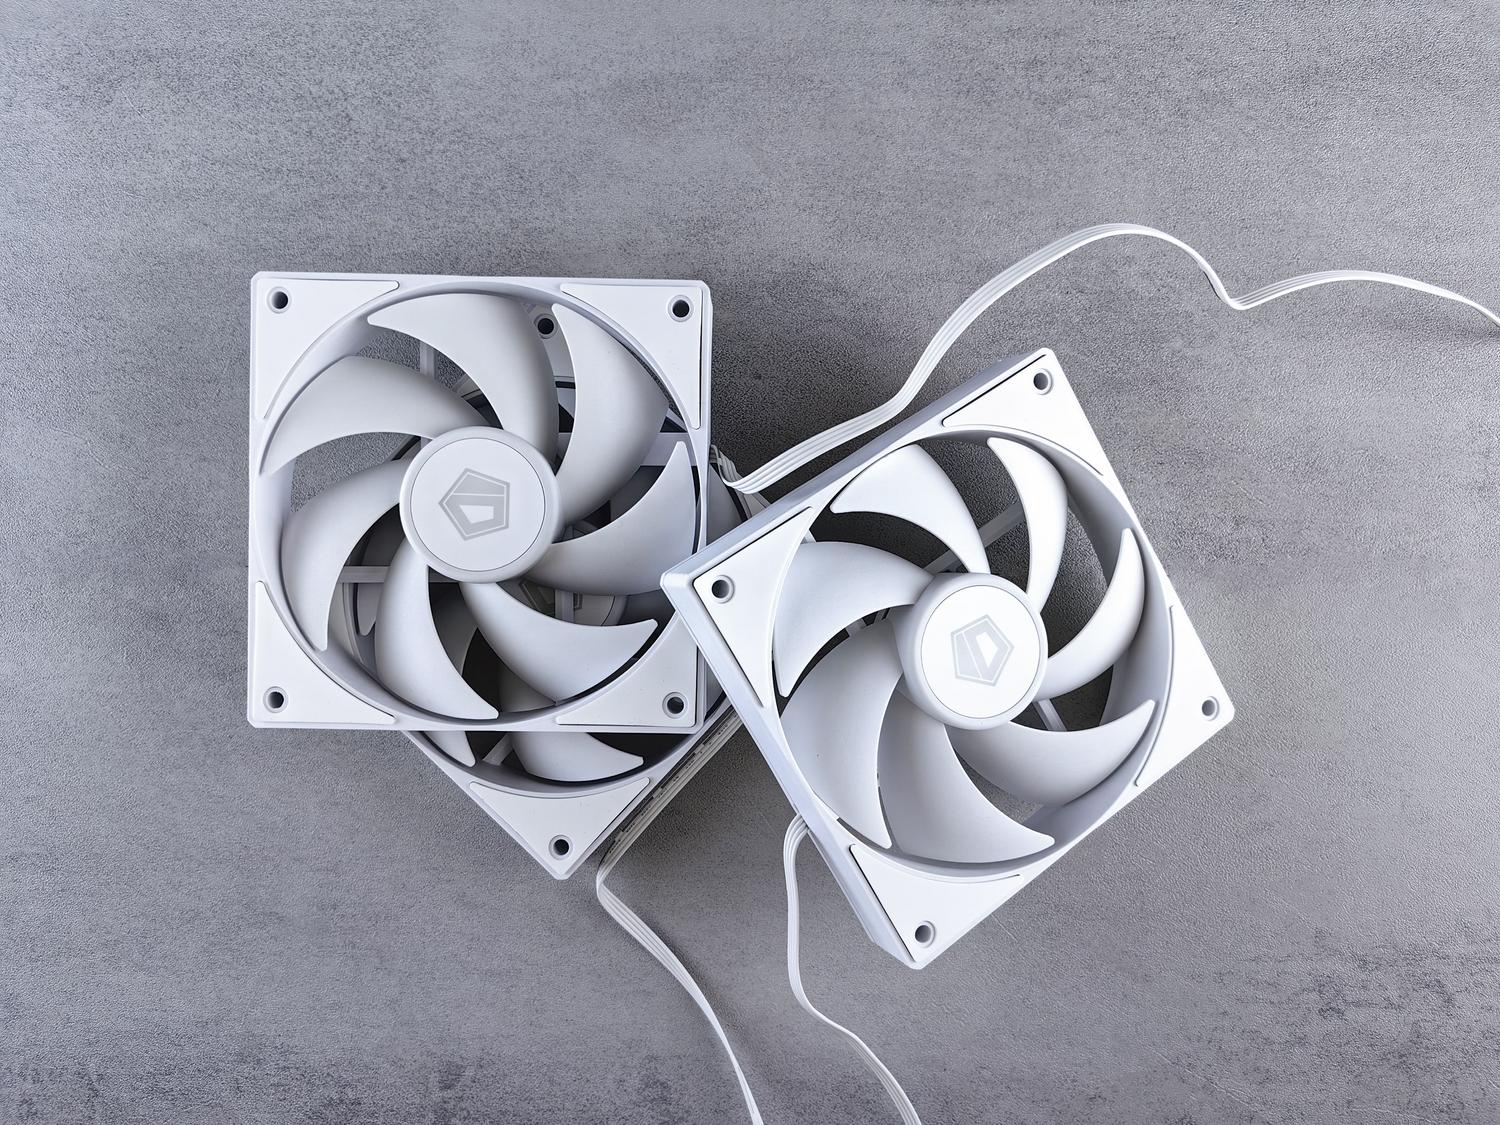
Once you have the fan out or easily accessible, the goal is to remove every speck of dust. First, hold the blades steady and firmly brush the visible surface. Next, take the time to clean the space between the blades , as this is where dirt accumulates most and where the compressed air often fails.
Finally, give the fan's outer frame a once-over. If you notice any areas with ingrained dust that the brush won't remove, you can use a piece of kitchen paper or a slightly damp cloth, being very careful not to get any water on the motor shaft . Don't forget to clean the case's ventilation grilles and dust filters as well, since a clean fan is useless if air can't flow through it.
Performing this regular maintenance prevents dust from forming a stubborn crust and ensures your computer operates at optimal temperatures. Using a brush for stubborn dirt and compressed air for hard-to-reach areas is the best way to keep your equipment spotless and prevent electronic failures.