- Advanced use of Night mode and manual exposure control to capture more light.
- Importance of physical stability and choice of main sensor to avoid noise.
- RAW file configuration and resolution settings for professional post-processing.
- Software alternatives and third-party applications for older iPhone models.
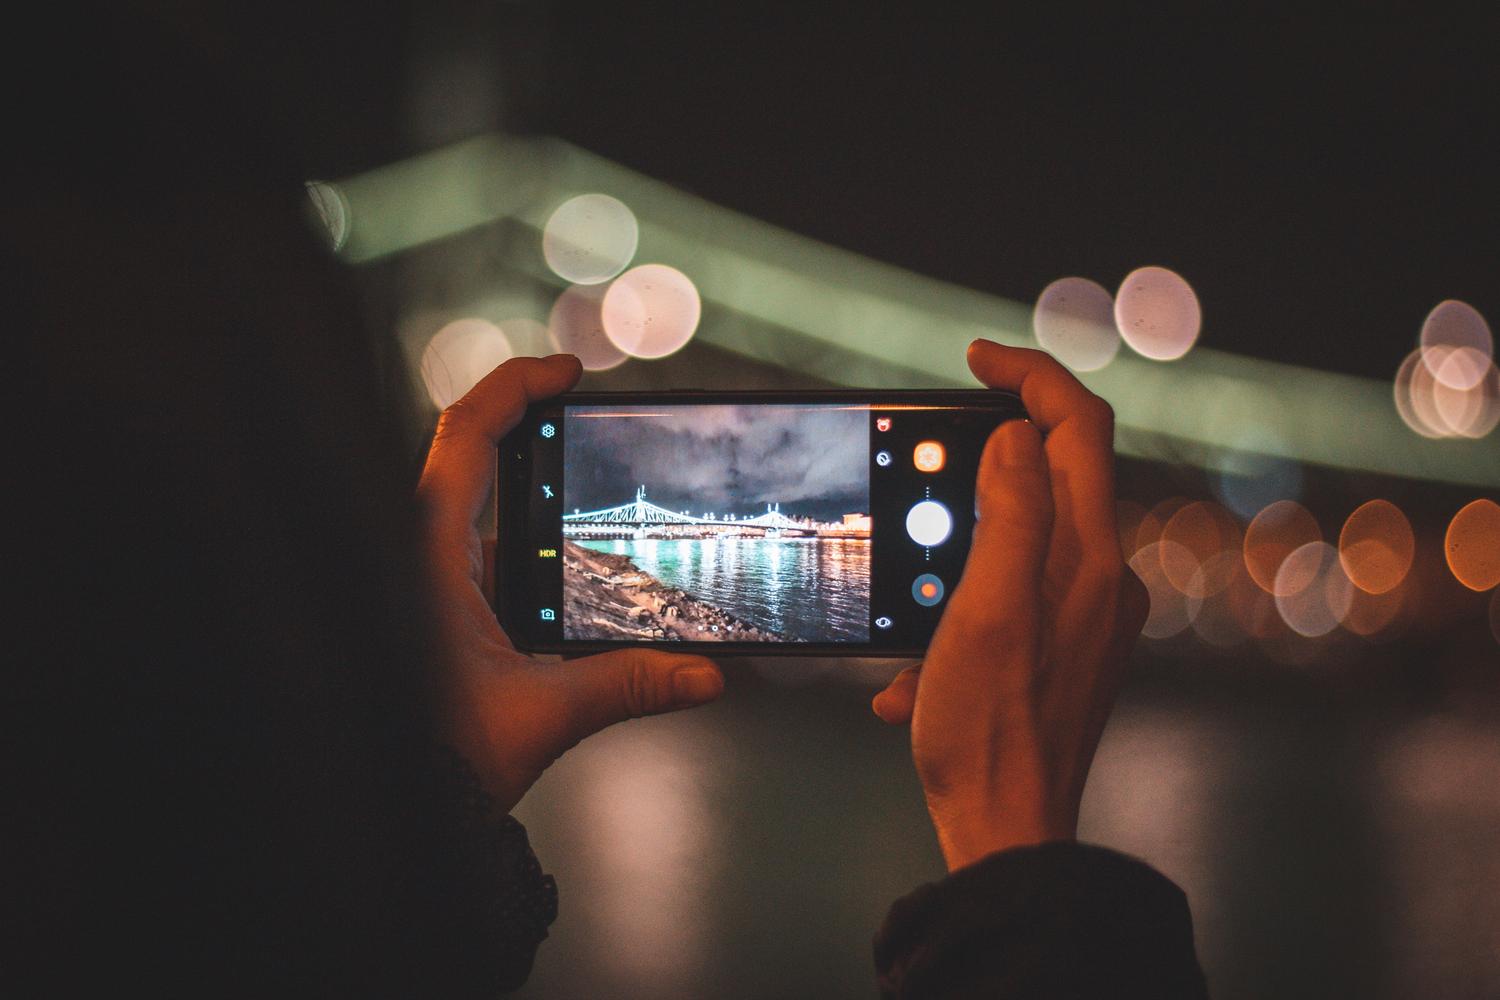
Taking photos after sunset has always been a challenge for many, but the truth is that these days, carrying an iPhone in your pocket is almost like carrying a professional camera. If you enjoy capturing the magic of the stars or the atmosphere of a lit-up city, taking advantage of Apple's hardware and software can make all the difference between a grainy photo and an image that leaves everyone speechless.
It's not just about pressing a button and expecting artificial intelligence to do the dirty work. To achieve truly outstanding results, you need to understand how light interacts with the sensor and know how to tweak some hidden settings. From using basic accessories to a complete guide to getting the most out of your phone's camera , here's everything you need to become a night photography expert.
Night Mode: Much more than an automatic button
Starting with the iPhone 11, Apple introduced Night mode, a feature that essentially works wonders by combining multiple shots to brighten the image and bring out details where there seems to be nothing. By default, the phone decides the exposure time, but if you want to go a step further, you can take full control. By tapping the yellow moon icon, you'll see that you can slide a control to increase the exposure to Maximum , allowing the shutter to remain open for much longer.
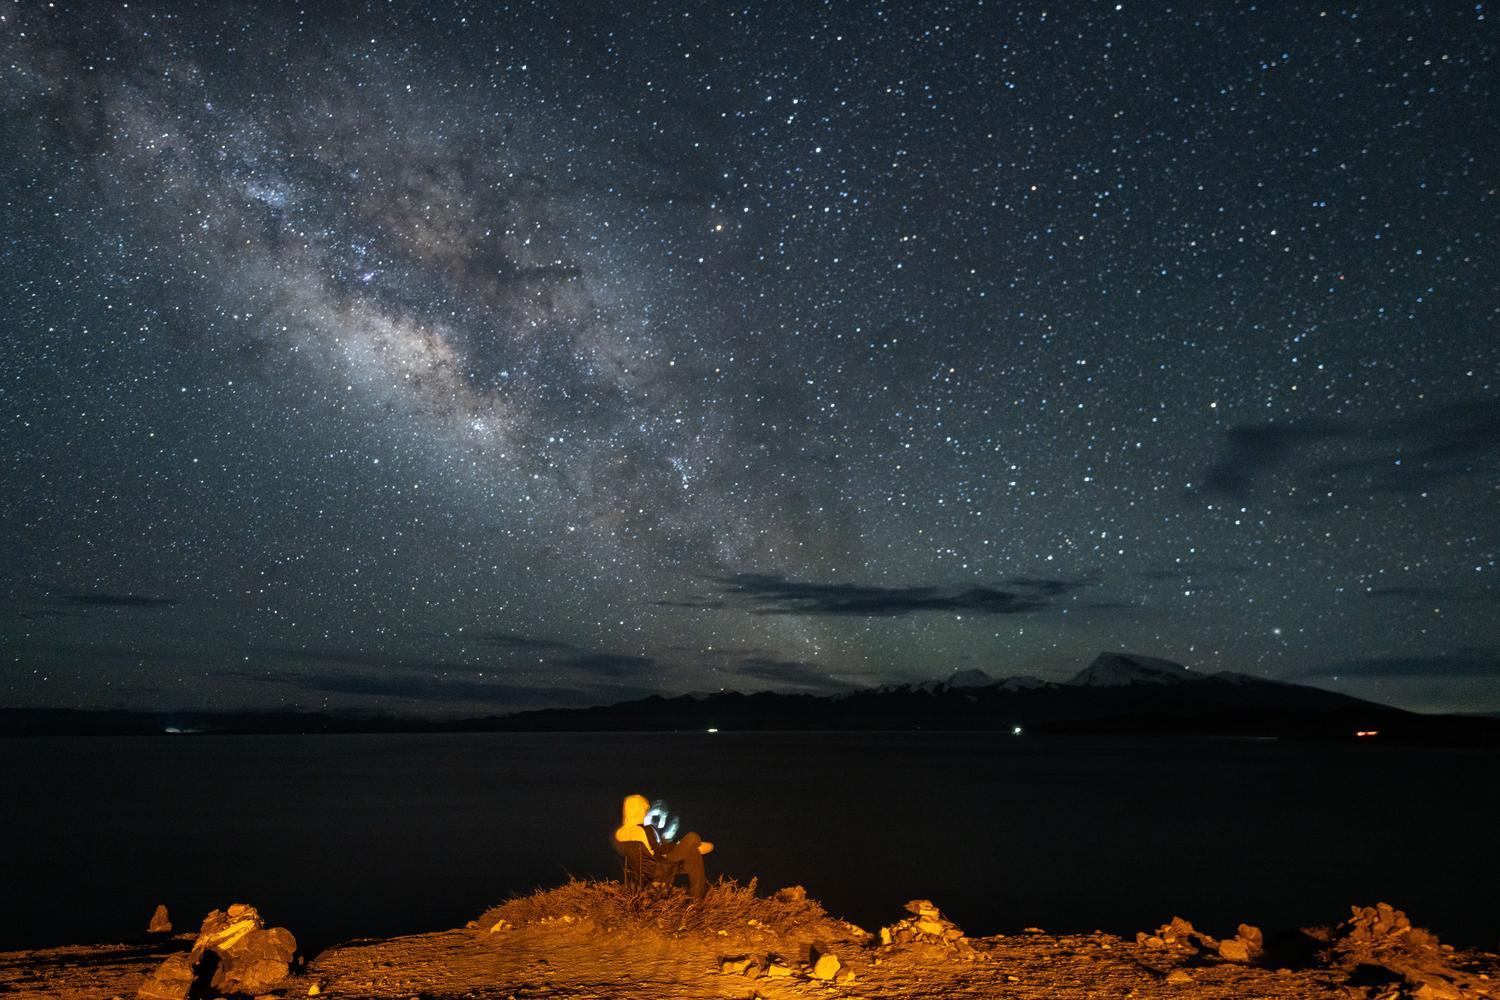
This manual control is vital if you want to photograph the moon or the starry sky with your phone. While automatic mode might give you 2 or 3 seconds of exposure, forcing the capture to 10 or 30 seconds lets you capture an enormous amount of light , transforming a black smudge into a blanket of stars. Keep in mind, though, that Night mode is also supported on recent models for selfies or time-lapse videos, allowing even your nighttime portraits to have a professional look.
Stability and Environment: The Golden Rules
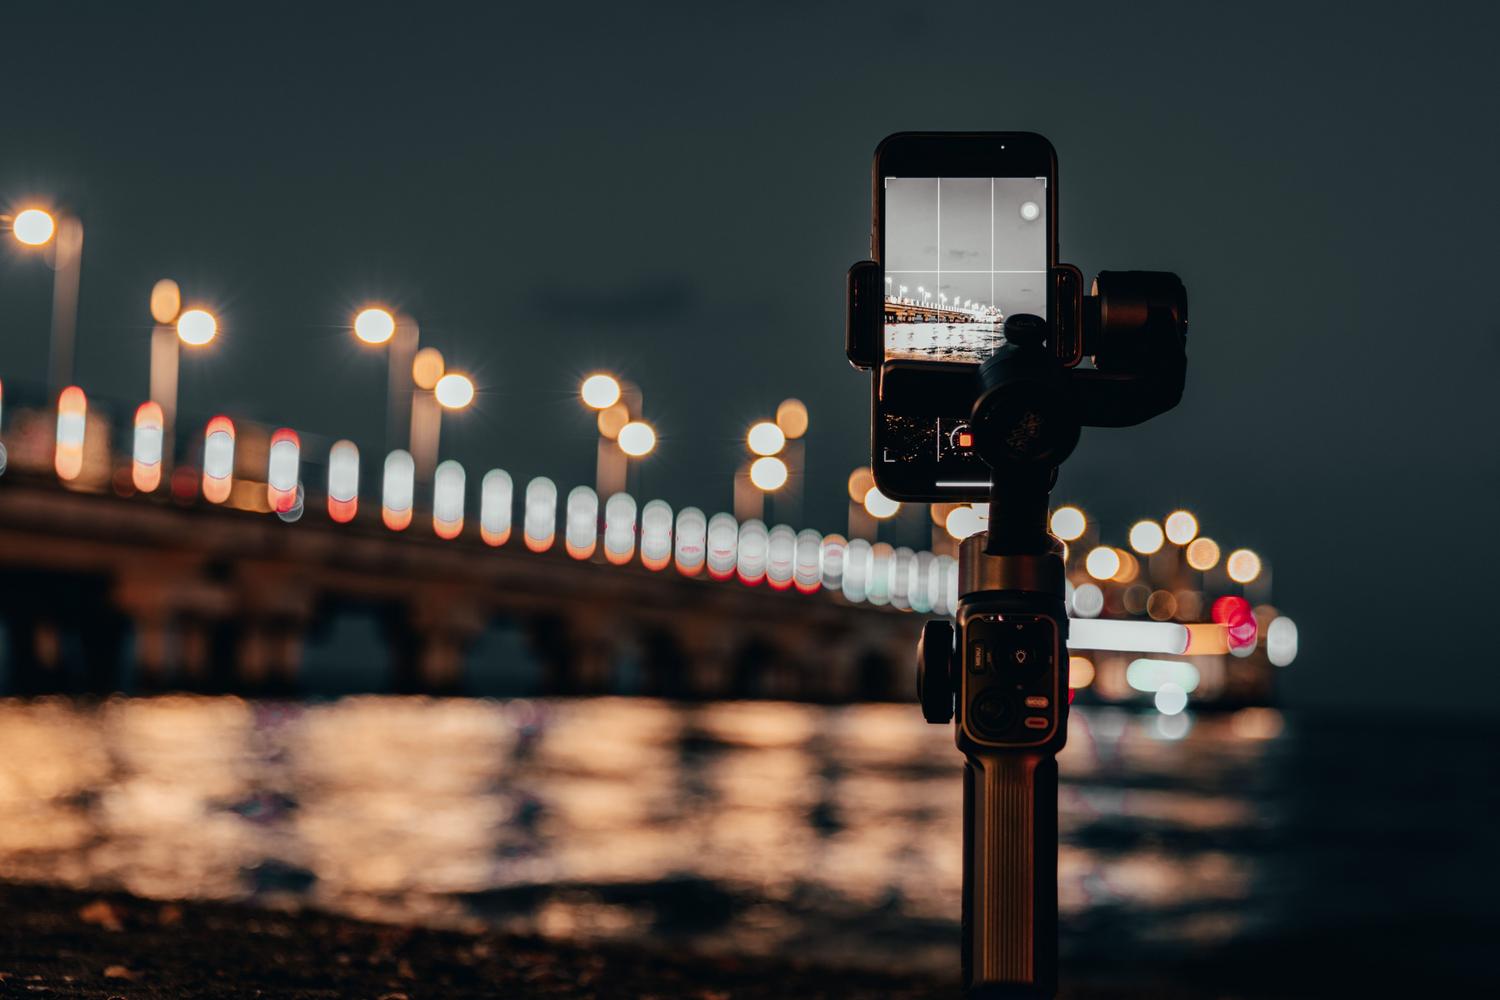
This is where many people go wrong. When you force the iPhone to keep the shutter open for several seconds, any vibration, however slight, will result in a blurry photo. The solution is clear: you need a tripod or a mobile stabilizer , or failing that, rest your phone on a completely stable surface. If you don't have anywhere to rest it, remember that tiny wrist movements are the number one enemy of sharpness.

Besides the camera mount, the location where you shoot is crucial. To capture the sky, it's ideal to get away from the light pollution of cities and find refuge in the countryside or mountains. And here's a tip that seems obvious but is often forgotten: check the weather. No matter how powerful your iPhone is, a clear sky is essential ; no software can penetrate a thick layer of clouds.
Technical Configurations for Demanding Users
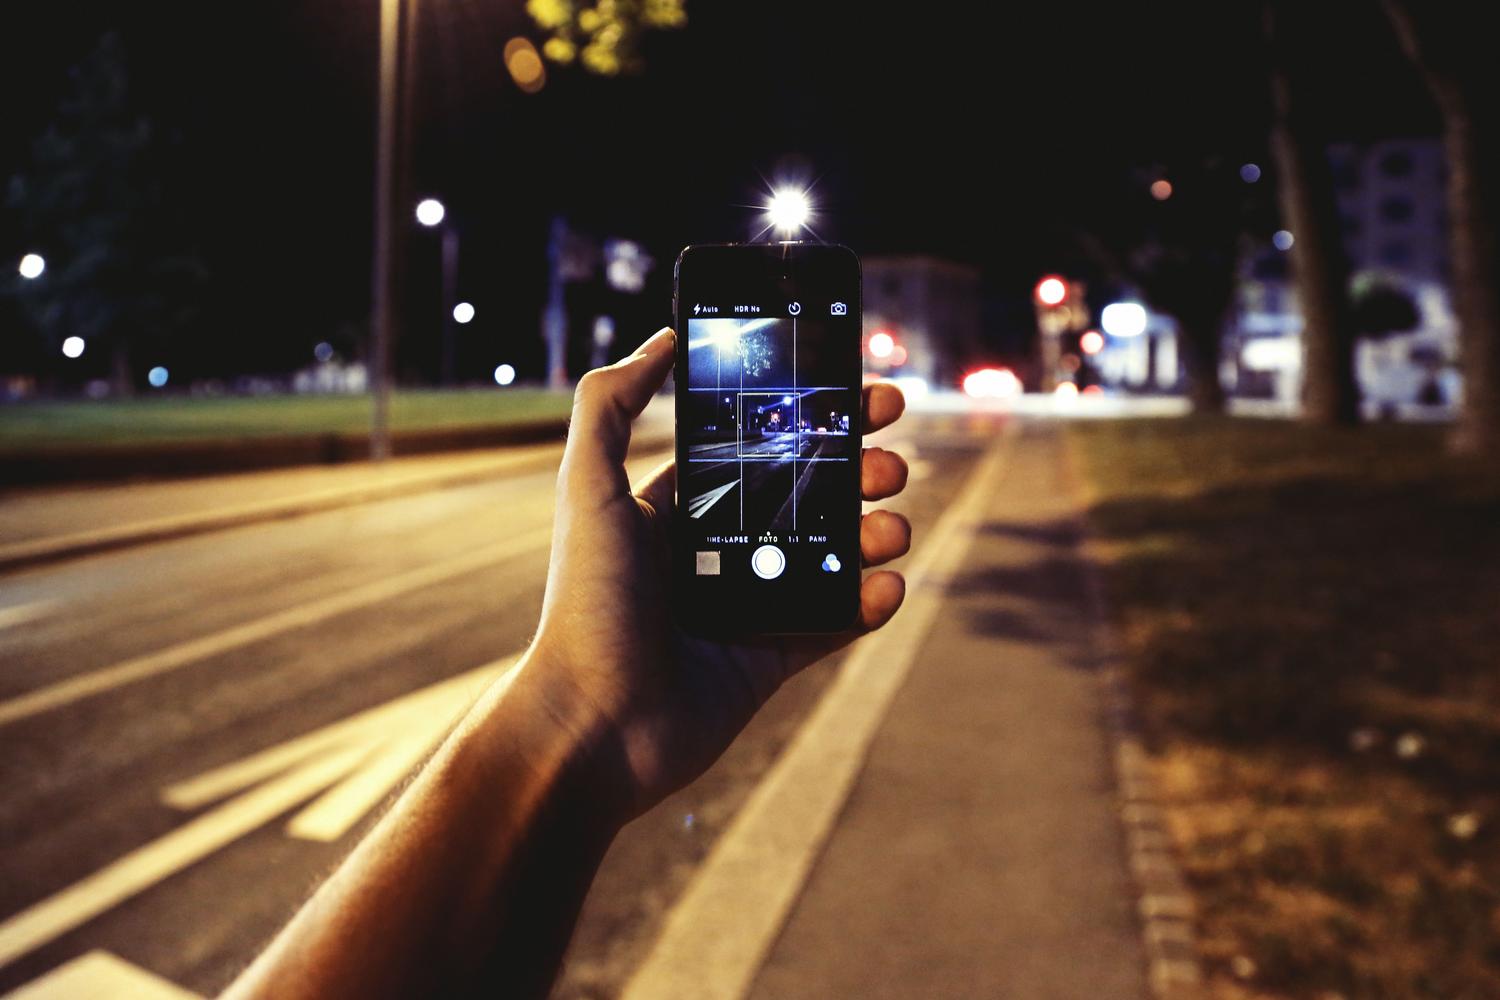
If you want your photos to have a professional finish, stop shooting in standard format. In your camera settings, change the format from HEIC to RAW and increase the resolution to the maximum. The RAW format doesn't compress the information, which means it preserves all the original details of the scene , giving you plenty of room to edit the photo later in photo editing apps without image degradation.
Another key point is light management. The flash is often the worst enemy of night photography because it flattens the image and only illuminates what's right in front of you, ruining the atmosphere. It's best to turn off the flash completely and look for natural light sources in the scene, such as streetlights or signs. If you notice that the photo is too bright, you can manually adjust the exposure by tapping the screen and sliding your finger down to darken the image and increase contrast.
Sensor and Hardware Selection
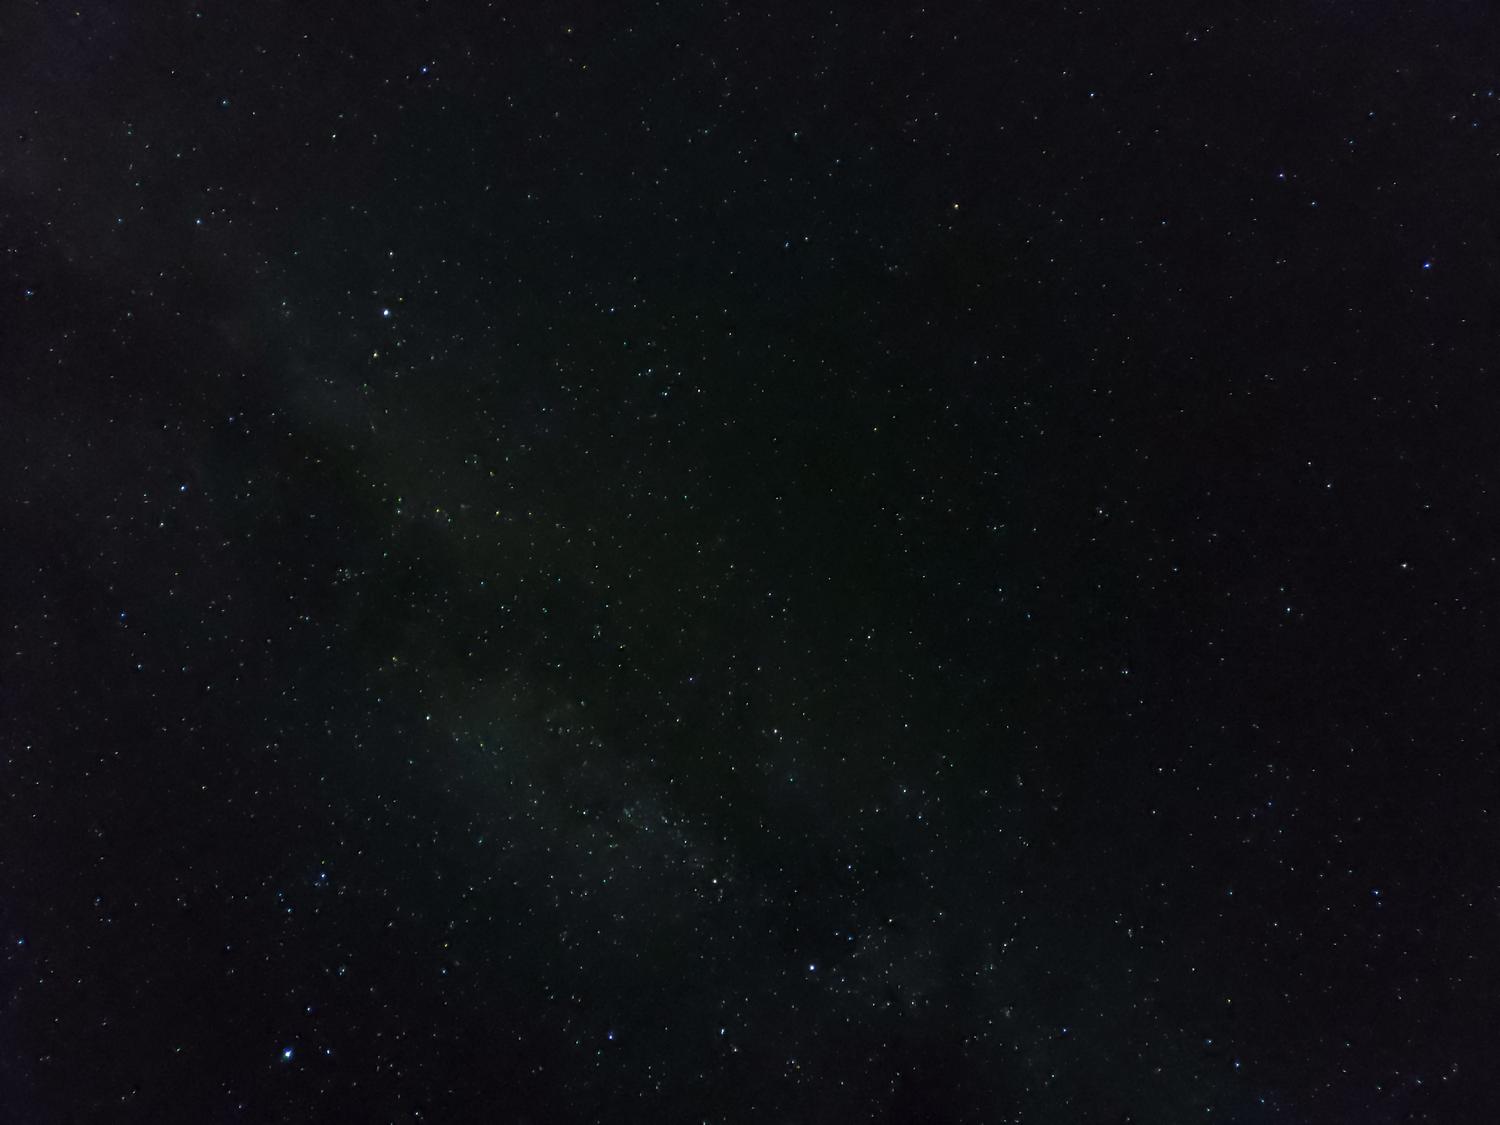
Not all iPhone cameras are created equal. For nighttime photography, the rule is simple: always use the main (1x) sensor . It's the brightest lens and has the largest pixels, allowing it to capture significantly more light than the ultra-wide or telephoto lenses. While the telephoto lens is useful during the day, it's often too dark for nighttime environments and can produce disappointing results.

For those with older models, such as the iPhone X or 8, which lack a native Night mode, there are external solutions. Apps like Neuralcam or Night Camera simulate this effect using software, allowing manual control of ISO and shutter speed. These apps offer tools like real-time RGB histograms and timers to prevent accidental camera shake.
Final Tricks and Troubleshooting
Sometimes, the iPhone can get a little too clever for its own good. Some Pro model users have noticed that when pointing the camera at the sky, the device automatically activates macro mode , resulting in blurry photos when trying to focus on something miles away. To avoid this, it's essential to tap the screen at the exact point where you want the focus and hold your finger down to lock the exposure and focus.
If you're going to spend hours capturing the night, don't forget to bring an external battery, as the intensive processing of Night mode and the use of high-brightness screens drain power quickly. Using the timer is another great tip if you're shooting alone, allowing you to step out of the scene and avoid accidental vibrations when taking the shot.
Mastering night photography with a mobile device requires a mix of patience, stability, and knowing how to configure the equipment. By combining the main sensor with the maximum exposure time, RAW format, and a good tripod, any user can achieve stunning images without carrying heavy equipment, transforming the simple physics of light into a piece of digital art.